Starting a job
Select job mode options. Press the button + start new Job.

Select from the list the template that is to be used with the job.
Add data in the custom property fields. In the example below Paint Code and Job Number has been used. Note entries in these fields will form the file name report is created.
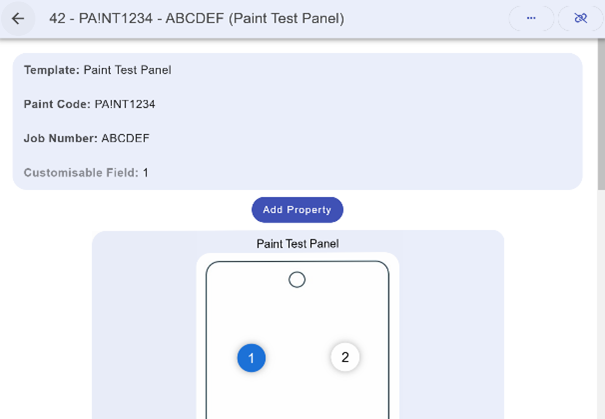
Additional fields/property can be added that will display at the top of the report. To add additional fields, press the Add Property button.
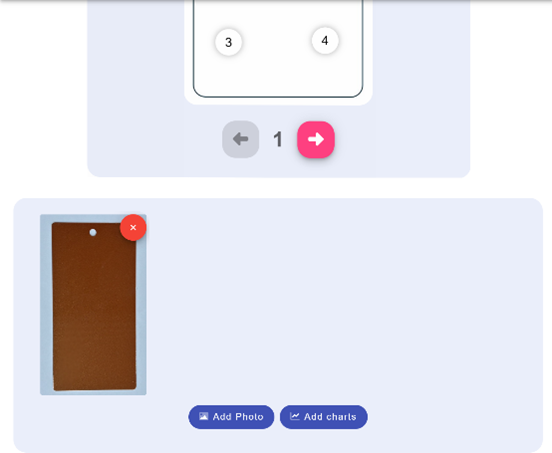
Press the Add Photo button to add an image of the part being measured. Multiple photos can be uploaded and will appear in the report as well as the measurement map.
Check that the instrument being used is connected to the application. The pairing / link button top right will be in green when an instrument is connected.

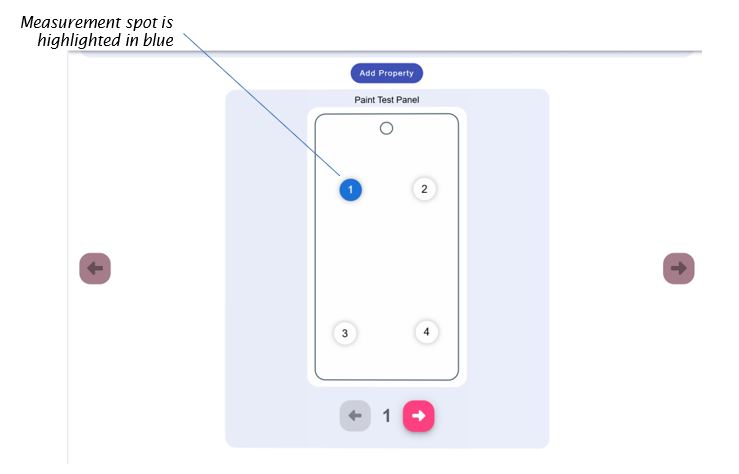
Highlighted in blue on the part map is the measurement spot.
The measurements taken will be shown at the bottom of the screen.
Multiple measurements can be taken per measurement spot if required.
Measurements can be deleted by pressing the ![]() bin icon.
bin icon.
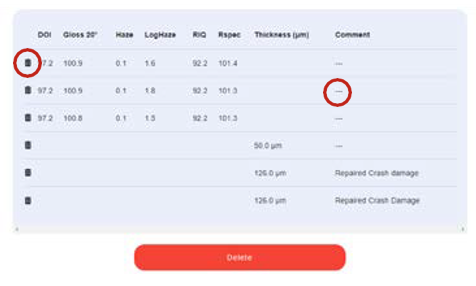
Comments can be added to the readings report by clicking on the --- in the comment’s column. When you are ready to move to the next measurement spot, press the pink right arrow.
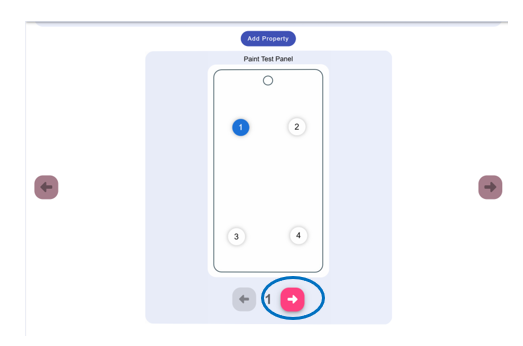
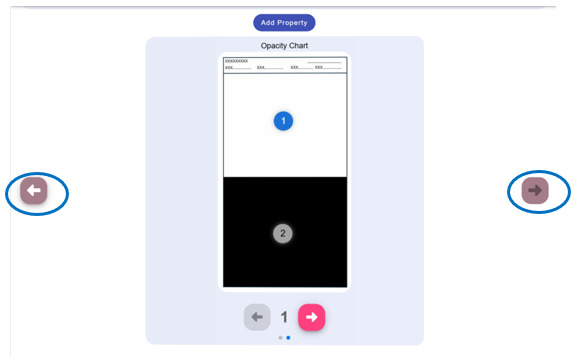
If the template contains more than one part pressing the far-right arrow will move onto the next part within the template. Pressing the back arrow will return to the previous part.
